Deploy a Nodejs and React app on AWS with AWS S3 and Ec2 (Part 1)
..with Cloudfront and Route 53 integration.


One exciting thing about software development is actually seeing your app go live from a browser. Its a really soothing feeling.
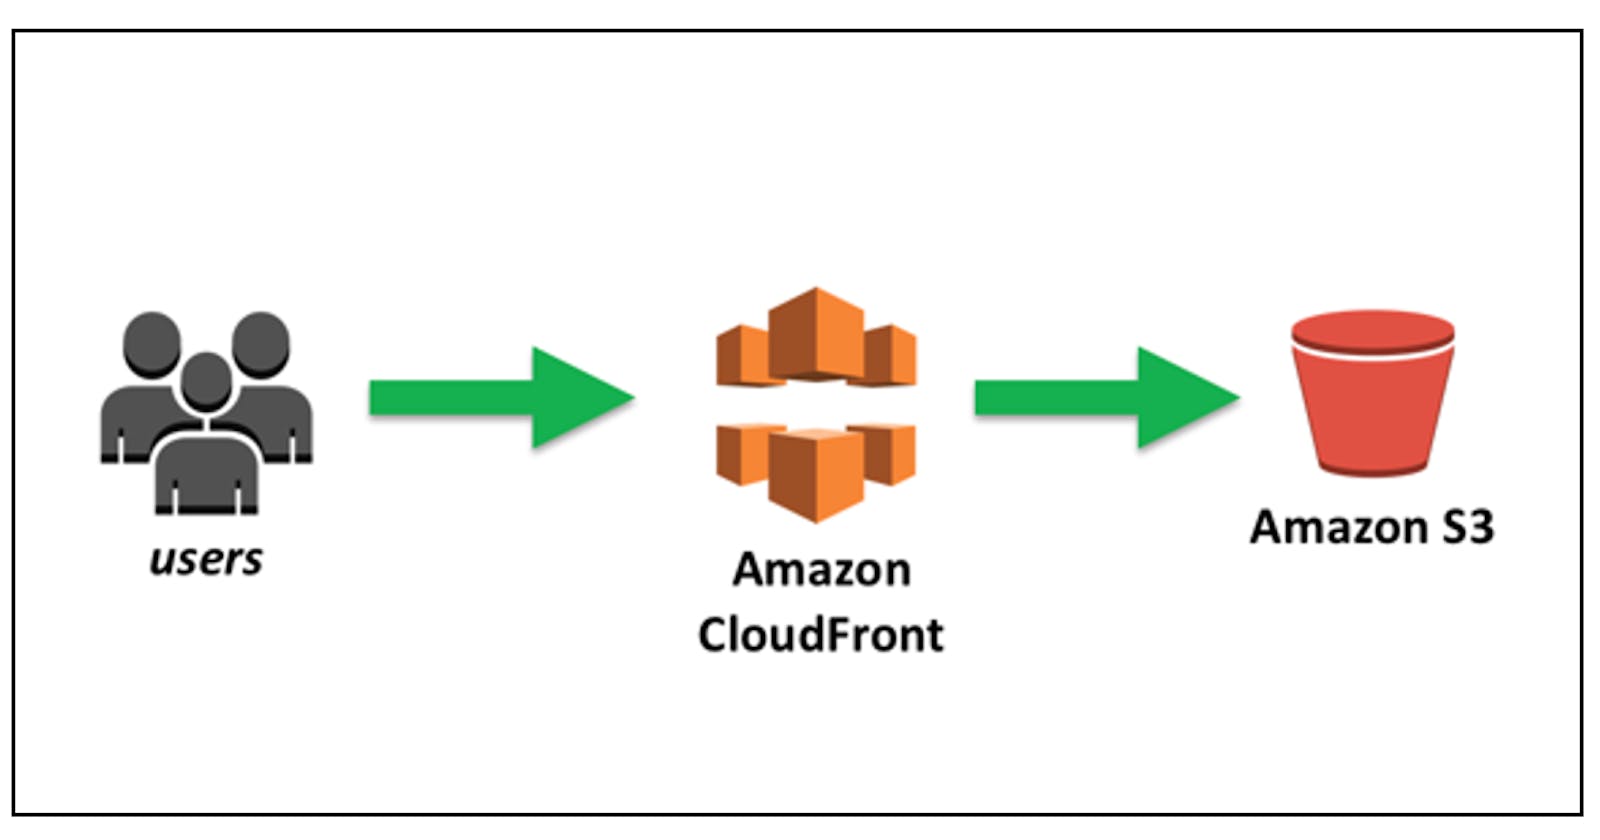
In this article, we will cover the process of deploying a MERN app (React, Nodejs, Express and MongoDB) on AWS. Also Using CloudFront for storing and Delivering our Content with Speed and Scale.
AWS is designed to allow application providers, ISVs, and vendors to quickly and securely host applications which makes it a great option and very easy to use. You can use the AWS Management Console or well-documented web services APIs to access AWS’s application hosting platform. Some of the benefit of AWS includes; flexibility, cost effectiveness, reliability, scalability and high performance, security.
Steps
- Deploy our frontend on S3
- Integrate CloudFront
- Deploy our backend on ec2
Prerequisites
This article assumes you have your AWS account already set up. If you haven't you can visit this link to get it done.
Your project structure has the React front-end and Node backend in different folders and working independently.
Deploying our React app (Front-end)
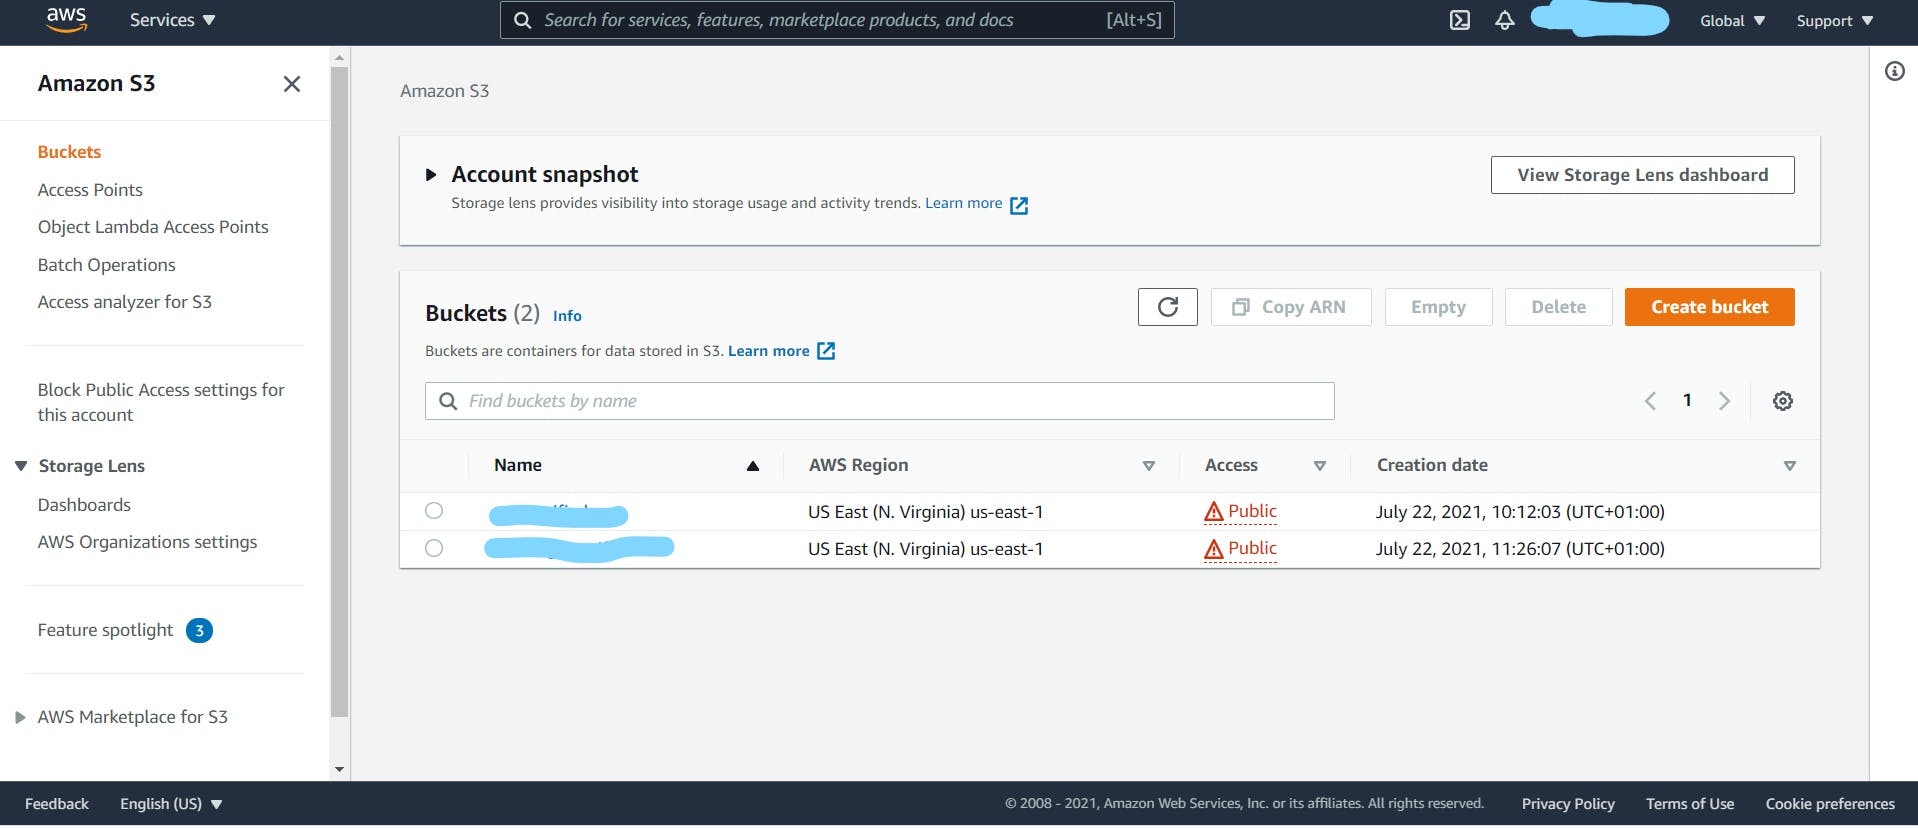
In your AWS dashboard click on the search and type s3. Click on the create bucket
fill in the name of your bucket and choose a region(preferably US East N. Virginia)
Next, Uncheck the block all public access as you want your site to be visible to the public
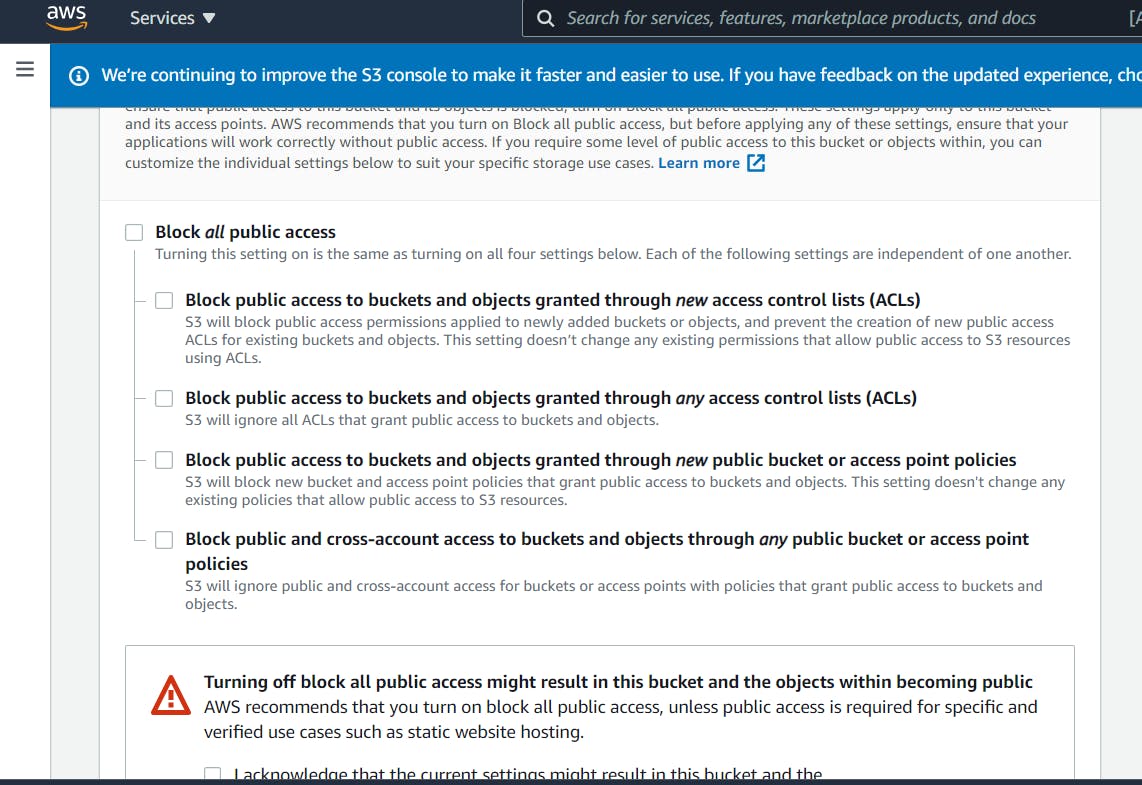
acknowledge this settings by checking the box underneath
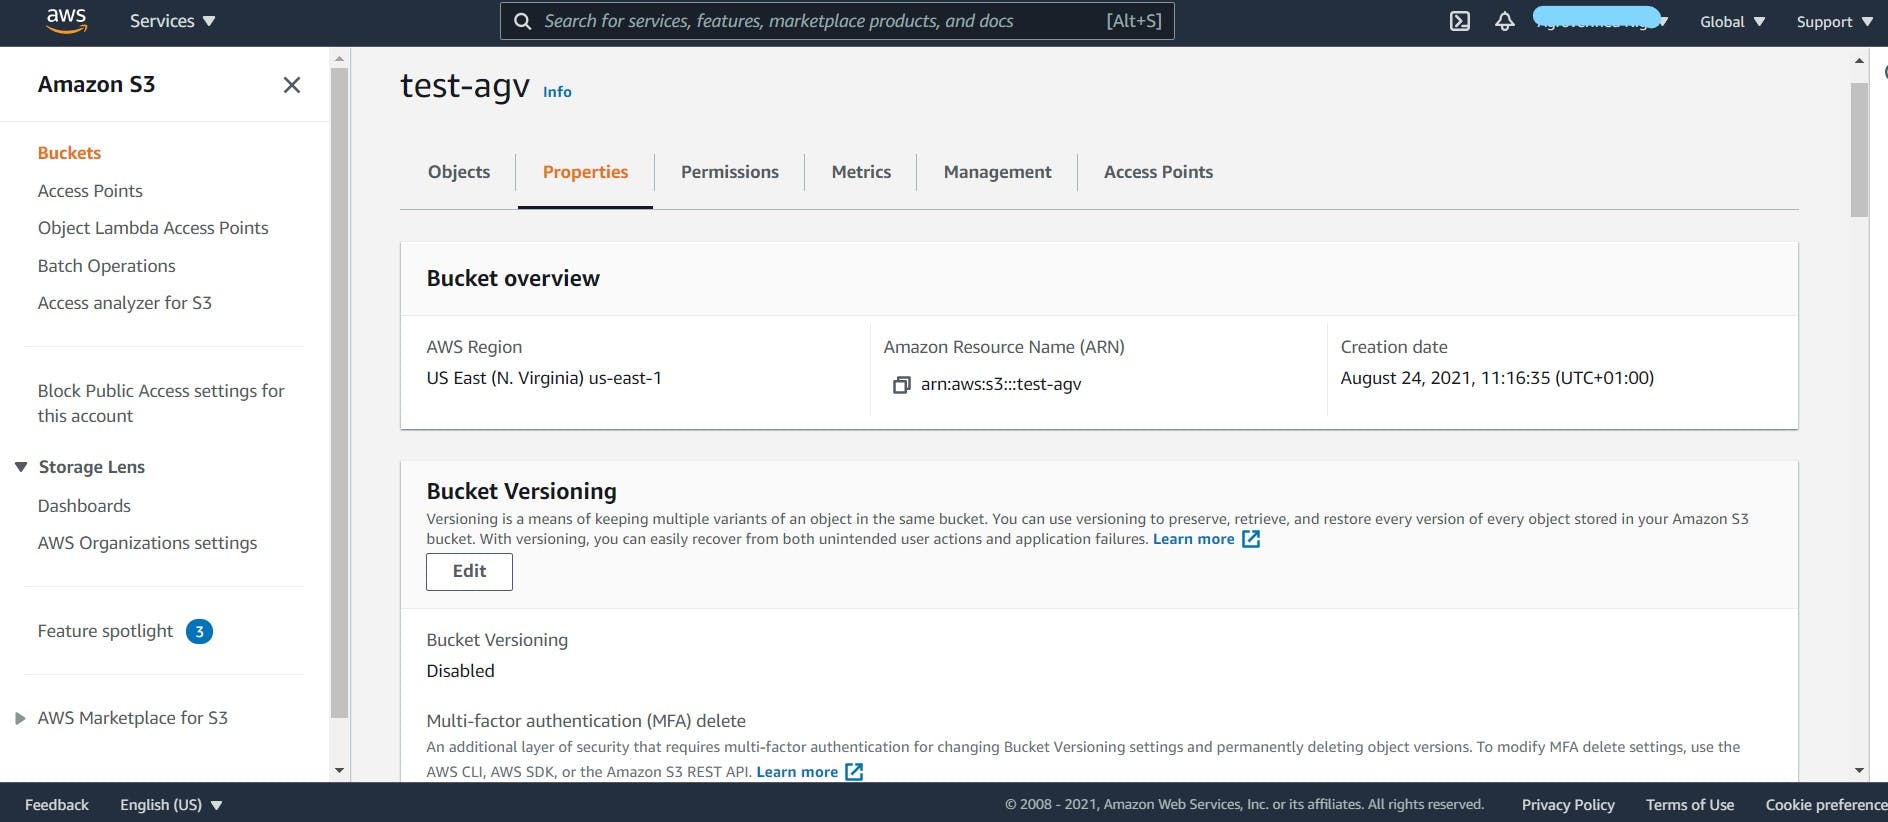
Next, leave bucket versioning and default encryption disabled.
Click on create bucket.
Once your bucket is created, click on the bucket to open and enter the properties tab
in the properties tab, scroll down and click on edit in the static web hosting section change to enable. and also select host a static website.
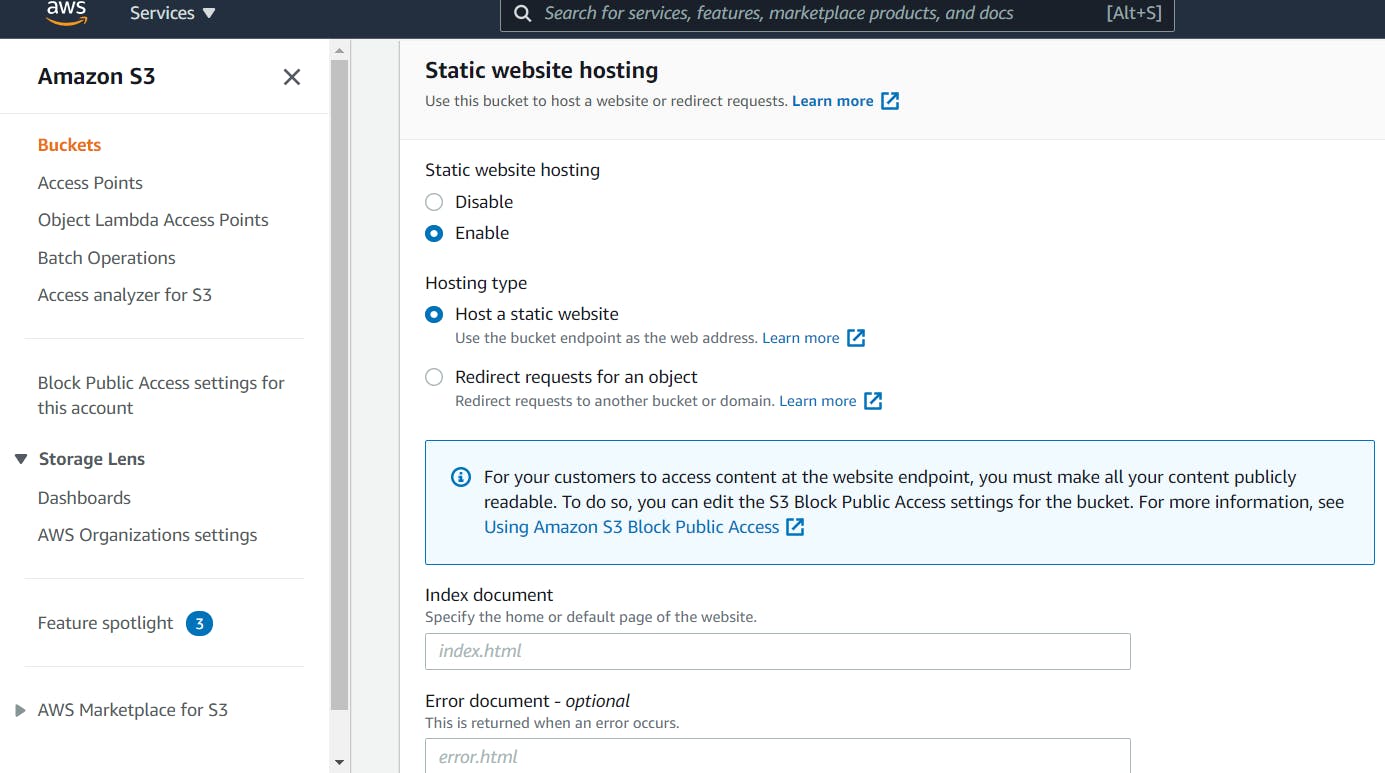
In the index and error document field enter index.html respectively. Save changes.
Next, go to the permissions tab, select edit in the bucket policy section.
paste the text below and change the example.com to the name of your bucket and hit save
{
    "Version": "2012-10-17",
    "Id": "Policy1626945244527",
    "Statement": [
        {
            "Sid": "AllowPublicReadAccess",
            "Effect": "Allow",
            "Principal": "*",
            "Action": "s3:GetObject",
            "Resource": "arn:aws:s3:::example.com/*"
        }
    ]
}
We are good to go!!
Now time to upload our website's files to the bucket.
Navigate to your React app on your local machine and run the build command
npm run build
this will generate a build folder in the project.
Next, go to your S3 bucket and select the upload button. Choose your build folder in the React project.
Note: The contents of the build folder should be in the S3 bucket root, not in a build folder in the s3 bucket.
You can also use the AWS CLI to upload files to your s3 bucket using the below code. But make sure you have setup AWS CLI
aws s3 sync build/ s3://example-bucket --acl public-read
Finally, go to your s3 bucket in AWS console. navigate to the permissions tab. scroll down and copy the static web hosting endpoint, paste in your browser and Voila!!
We have successfully deployed our React front-end app to AWS S3.
It Works!!. So why do we need CloudFront?
In our next article we are going to integrate CloudFront on our application and also see the advantages of using CloudFront.